Showing posts with label eyebrow. Show all posts

Tuesday, April 05, 2011

Unsung Heroes: Brow Mascaras

Around two years ago, my mom bought a brow mascara from Lunasol. And ever since then, I've never looked back. They became even more necessary after I started dyeing my hair. I have yet to commit to bleaching my eyebrows, so brow mascaras are a must for me. My Lunasol brow mascara worked well for a little over a year before it dried out. I didn't repurchase it because it ain't cheap. Then I purchased an ELF Studio brow mascara in medium. Although it took a little longer to apply, I actually didn't mind since it meant that it was harder to overdo it. It dried up in about 6 months, which is okay since it was very affordable anyway.

When I went to Bangkok last November, me and my MUA friend were desperately scouting for a MAC Boy Girl Brow Set, which is always OOS locally. We still scouted around the Watsons there, and ended up testing different brow mascaras: Kate (by Kanebo), Fasio and another brand which I forgot. Kate proved to be the hardest to rub off. Once it dried, it really stayed put! So, we bought one each and our lemming for MAC Boy Girl disappeared.


Brow mascaras don't seem to be getting enough attention. Not only do I use them for people (and myself) who have colored hair, they are also useful to soften a person's overall look. I like to use them on people who have full brows (like mine). Clear mascaras are useful for people who don't need color tweaking and just want their brows to stay in place.

Here's me and my full brows using Kate brow mascara in LB-1. Don't you think it helps soften my look?


Do you use brow mascaras? What do you think?

Wednesday, October 20, 2010

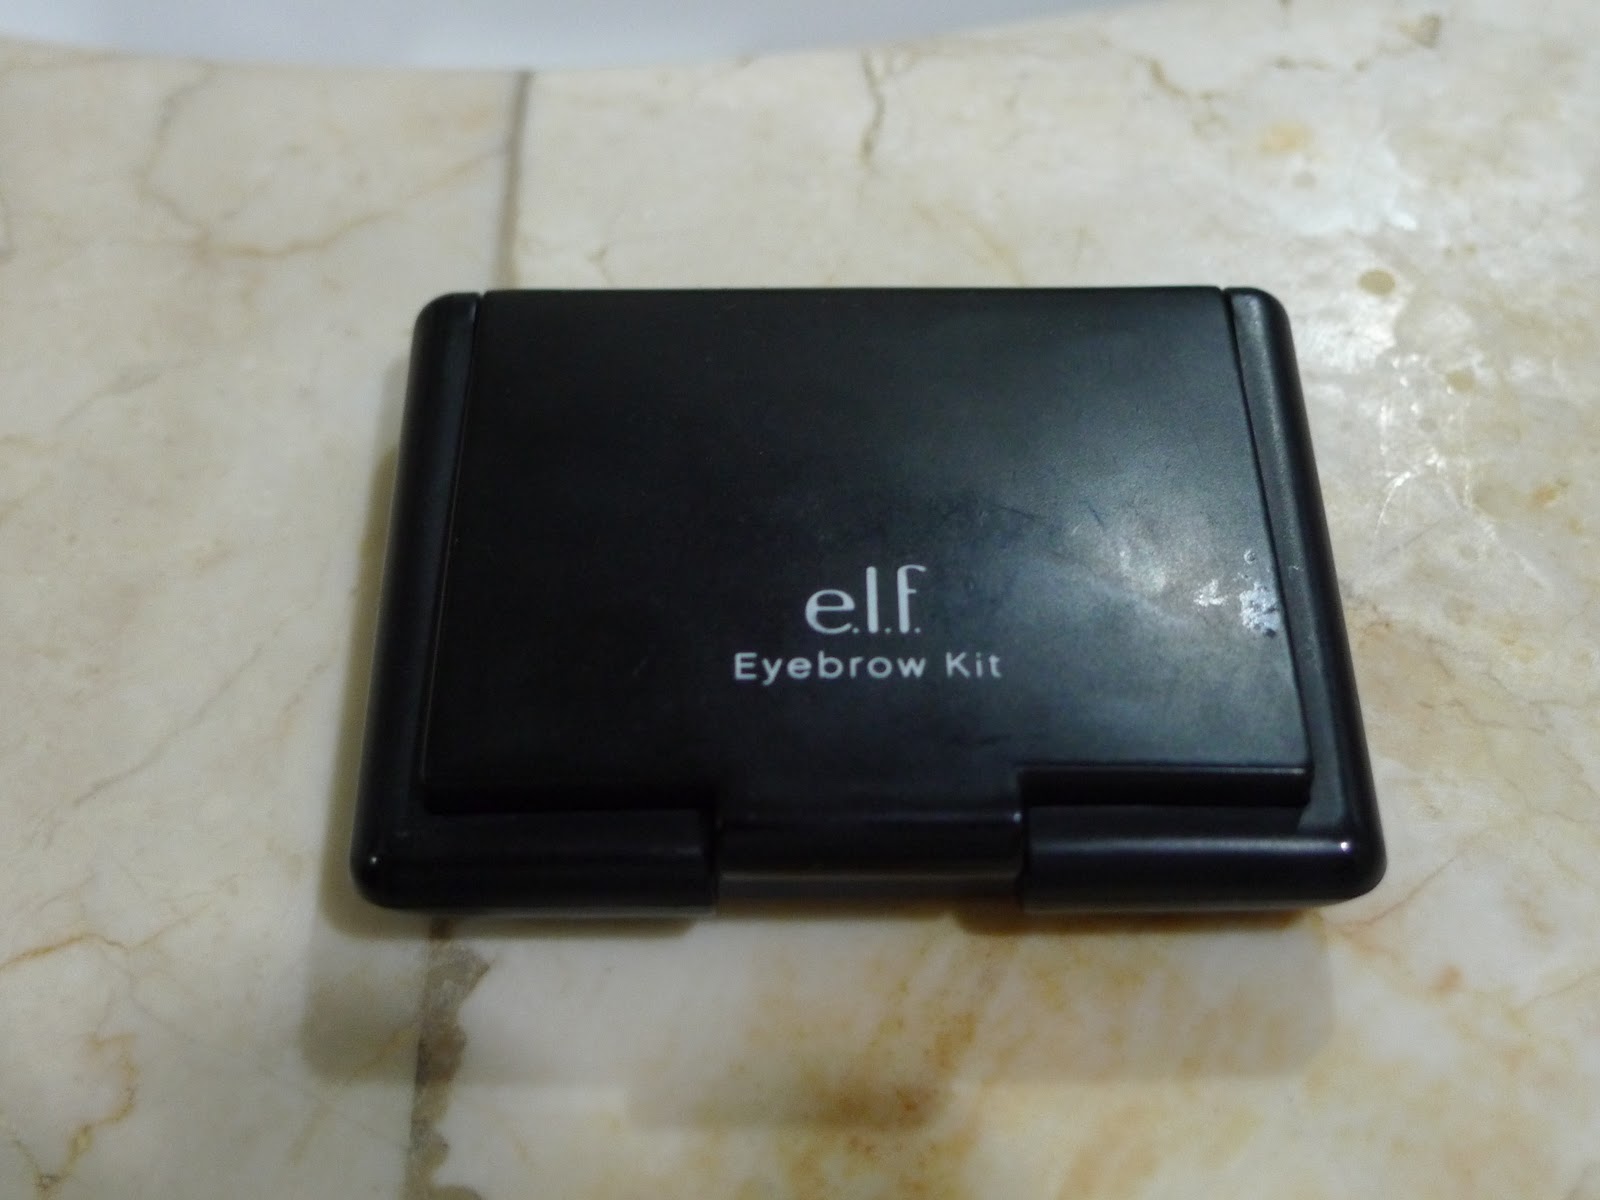
Review: E.L.F Brow Kit in Medium

Hello dearies! Finally, I'm back with another review. This time, I'm going to review one of the staples in my everyday makeup routine: ELF Brow Kit in Medium. 


Here it is when opened:


The one on the left is the brow gel to help keep your brows in place, and then the right side is the powder.

Here are the swatches:


The left swatch is the powder while the right side is the swatch of the gel. I'm sorry, I inadvertently switched the swatches.

I've been using this for a very long time now so I can say a lot about this product now. Here's what I think:

PROS
  • The color is just right for me, not too light and not too dark
  • Pigmentation is okay. It's not uber pigmented which is not a problem for me since I have thick brows already and I just need to add a little more shape
  • Comes with a mirror already
  • The brush that comes with it is useful and very soft, not scratchy at all.
  • Lasts all day. I seriously have an oily face, but I don't retouch my brows.

CONS
  • Have sparse brows? This might not be enough to give you coverage. A brow pencil could be a better choice.
  • The gel that comes with it is so-so. I find that it's holding powder is not very good.
All-in-all, I think this for its price of $3 (US price since I had this ordered from the US), this is a good product.

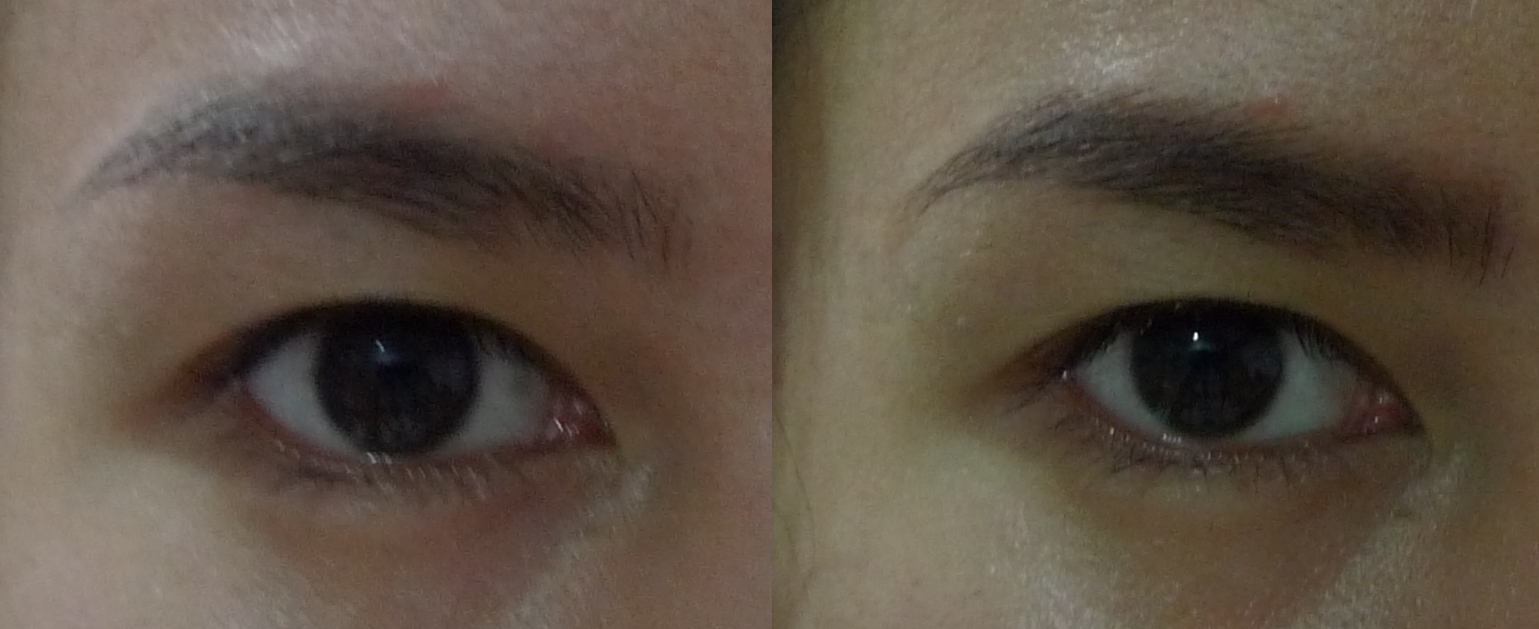
Lastly, let me show you a picture of my brows before and after I put the powder and gel.


As you can see, I have thick brows already, so this works well for me :)

Rating: 4/5

Tuesday, February 09, 2010

Soft Eyebrows Tutorial


Hello everyone! I'm doing my first tutorial ever so please bare with me. Today I'm going to show you how I do soft brows. This is the perfect everyday look for me since I leave my brows thick so I don't want to overdo my eyebrows by making it strong. I want to make it look soft. Everyone has a different way of doing their eyebrows. This is mine.

Things you'll need:
1. Razor/tweezers
2. Eyebrow scissors
3. Lash comb/spoolie
4. Eyebrow powder
5. Brow mascara (optional)

Let's start with the shape of the eyebrows. Note that these are only guidelines and you don't need to follow them exactly.

1. Using a pencil or brush, make a line from the side of your nose to the inner corner of your eye. Where it lands in your eyebrow is where you should start.


2. Make a line from the side of your nose to the center of your eye. Where it lands is where the arc of your eyebrow should be.


4. Make a line from the side of your nose to the outer edge of your eye. Where it meets is where your eyebrow should end.


Knowing these guidelines, use a razor or tweezers to shape your eyebrows. If you're not confident, use a white pencil to draw until where you are going to remove.

Using a lash comb or spoolie, brush your hairs in an upwards motion.


If there are any hairs that are standing up after you have brushed your eyebrows, cut them with eyebrow scissors.


Using brow powder, fill in your eyebrows. For this tut, I used E.L.F. Studio Brow Powder in Medium.


Start from the middle of your eyebrows around the area of the arc. Then blend outwards. Using less or no additional powder, blend near the inner part of the brow going to the middle, then blend from the innermost part of the brow going out. The idea is that you use the most brow powder in the arc, less going out, then even less as you go in the eyebrow. Remember that this is a soft brow look so we don't want them to be in-your-face. If there are any areas where there is little or no hair, remember to fill it in to get your desired brow shape.


 Using your lash comb or spoolie, brush your brows upwards to make sure that the powder has been distributed evenly.


Optional: Run through your brows with a colored brow mascara to furthur soften the look. I used ELF Studio Brow Treat and Tame in Medium.


And your done!
Remember this look? I used the exact same steps and products to achieve this brow look.


 I hope this helped. Ciao!

More Stories You Might Like:

Related Posts with Thumbnails